|
|
|
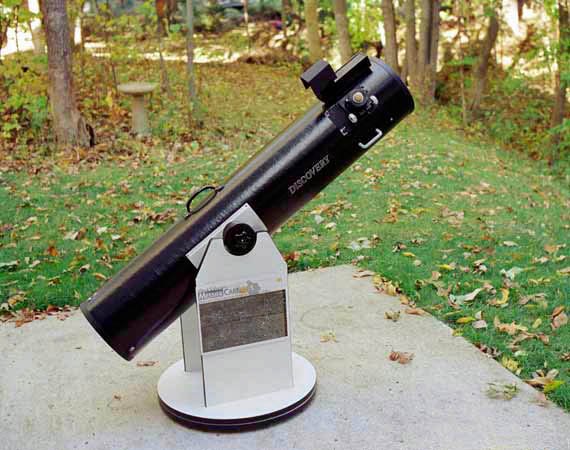
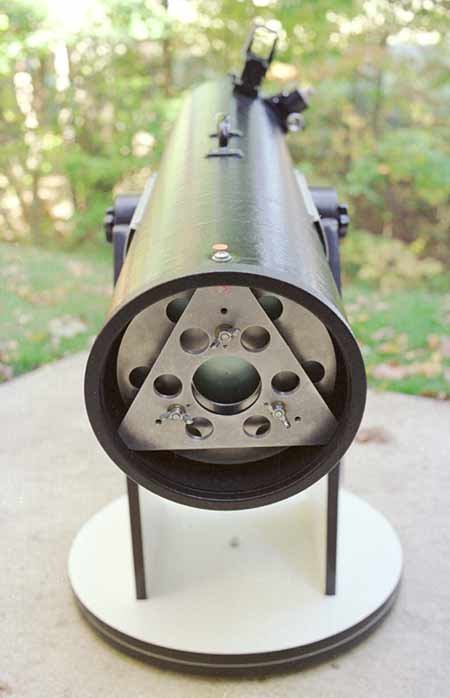
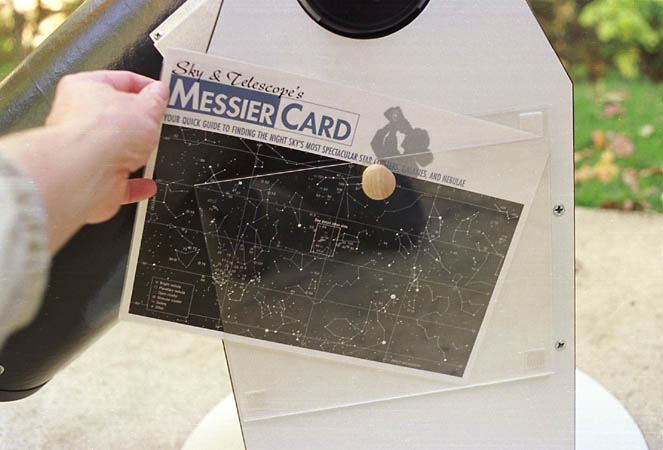
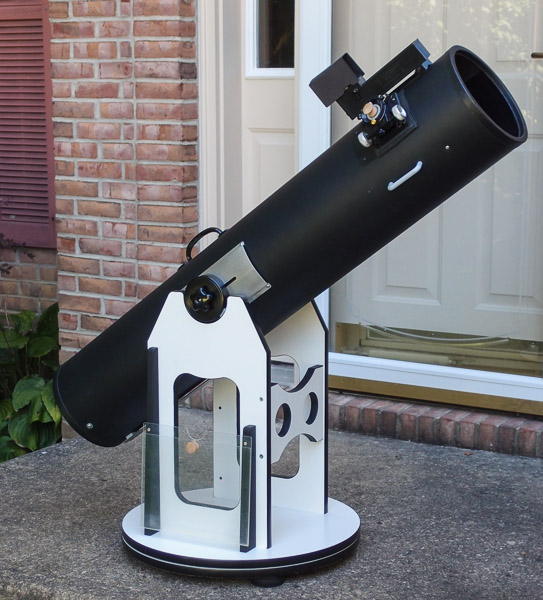
| Purchased new in June 1999, here's an overall shot of my 8" Discovery dob showing a replaced focuser (JMI DX3) plus the addition of a couple of handles. The handle under the focuser reduces thermals when nudging the tube. The base has a plastic sign holder purchased from an office-supply store to hold my Messier chart. It looked like this until 2015 when I undertook more modifications. | A view of the mirror cell that has been perforated for better cooling. Hole saws and chassis punches were used to make the holes. I once tried a University Optics mirror cell, but I returned to using the Discovery cell. | Another view of the mirror cell
after modifications. Click here or on the picture above for a page showing detailed modification information. |
|
|
|
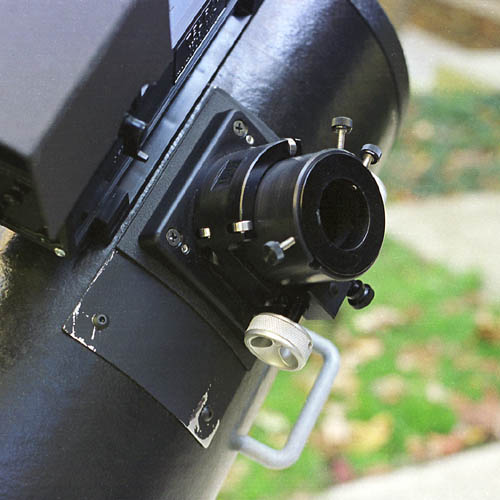
| A view down the front showing the Protostar 3-vane secondary assembly. Also visible is the JMI back-up plate for the focuser, and Protostar flocking paper in the tube opposite the focuser. | Replacement JIM focuser and mounting method used to move it 1.16 inches forward to accommodate the focuser's lower profile. The aluminum mounting plate needed new paint at the time. A "quicky" deburring session with a file damaged the initial coat. It was repainted in 2015 when I repainted the entire tube (not shown here). | The clear plastic chart holder was purchased from Staples Office Supply. They are made for holding signs, and I added a small wooded handle to facilitate usage. It was mounted to the rocker box using double-sided foam tape. |
|
|
|
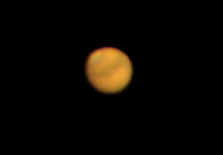
| Mars snapped on August 6, 2003 by holding a digital camera up to the eyepiece (probably the 9mm Nagler on the dob). Completely hand-held (which certainly contributed to the picture's fuzziness) it was still exciting to see. | Sunspots photographed through my TeleVue Ranger telescope with a 22mm Vixen LVW eyepiece holding the camera to it. Taken 2 November 2003. | Moon snapped on August 20, 2003 by holding the digital camera up to the eyepiece. The eyepiece was a 22mm Vixen LVW mounted on a TV Ranger. The exposure was 1/90 sec at f/2.1, ISO 100. |
|
|
|
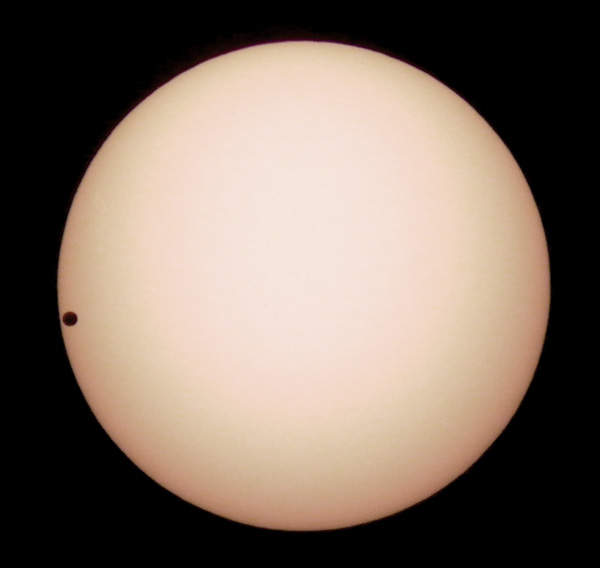
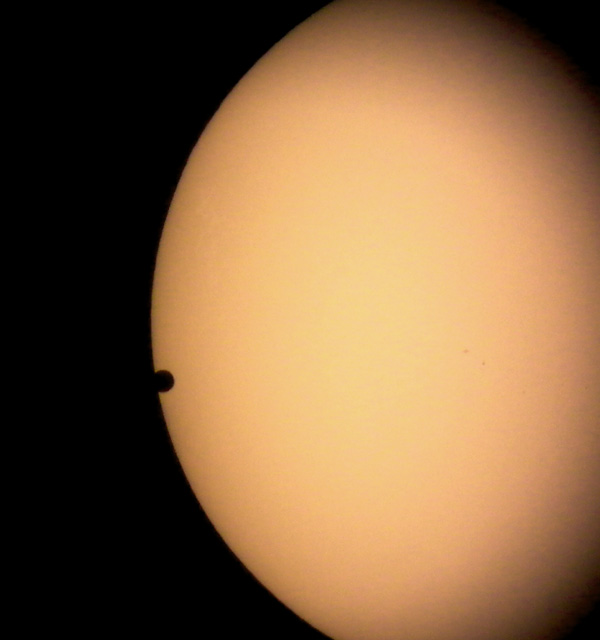
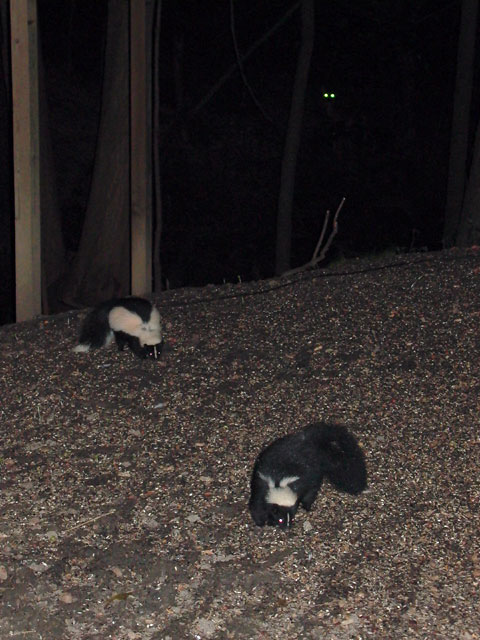
| Venus transiting the sun on the morning of June 8, 2004. The picture was made by holding the digital camera up to the TeleVue Ranger's eyepiece, a 17mm Vixen LVW. | A larger image of the Venus transit - a couple of small sunspots are visible on the sun. )70mm Ranger telescope w/ 9mm TeleVue Nagler.) | Sometimes my viewing plans are interrupted by other local denizens. The eyes glowing in the background are only a deer's but they look very ominous. |
|
|
|
|
| I built a barn door tracker in 2012 because an interested student wanted to do some astro photography. I have always wanted to make one of these simple devices and this was the push needed to get it done. I mounted a small, inexpensive rifle scope to a strip of 1/2 baltic birch to aid polar alignment. | I cut two 8" x 14" pieces of 1/2" baltic birch plywood to serve as the "doors". The tracking bolt is a common 1/4" x 20 piece of all-thread that I had laying around the shop. It is located 11.42" away from the hinge axis to match plans found on the internet. The tripod head mount is a scrap piece of maple that I had cut out for some speakers that I built. It has a 3/8" x 16 mounting screw in the center for attaching common tripod heads. A large rubber band keeps the top part from flopping freely in case of balance issues. | The hinge was cut from a longer piece that I had in the shop. A hack saw cut it to size. The tracking screw has an acorn nut on the end to provide a little more precision where it touches, and I glued a piece of brass where it contacts the lower board. The tracking screw works in a 1/4"x20 threaded brass insert that I had purchased from Woodcraft. |
|
|
|
|
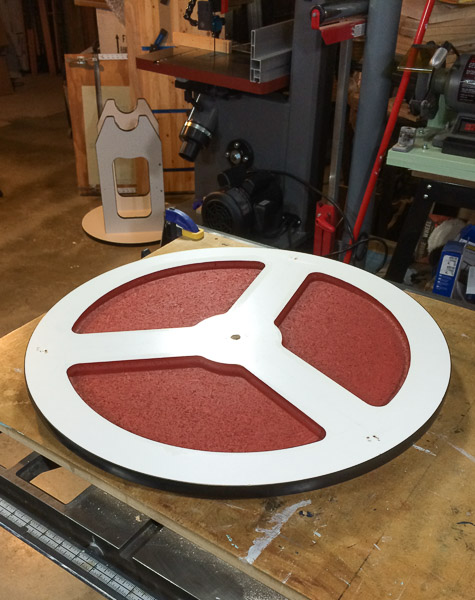
| This photo (click to enlarge) shows the barn door tracker assembled with a camera mounted. The student who used it added the clock marks around the elevation screw using strips of gaffer tape. I liked her personal touch, and left it there. | With my advancing age, the dob's heavy base became cumbersome to carry up the stairs. In 2015 I decided to lighten parts of it. I partially routed away the upper surface of the ground-board. A coat of shellac, then some red acrylic paint on the exposed particle board provides water protection. It shouldn't need much protection anyway because this is hidden inside. This side faces up, nestled between the two rotating parts of the base. | The
base's sides were also routed to remove material from the center of the
uprights and from the cross-brace board in front. Compare this picture to
the first one on the page to see the difference. The OTA weighs 17.8 lbs,
and the base now weighs 21.6 lbs. Both are very manageable.
Better than the reduction in weight were the new hand-holds provided by the openings in the sides. It's much easier to carry now. |