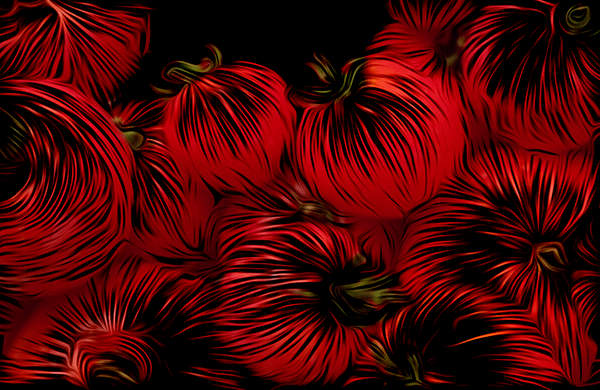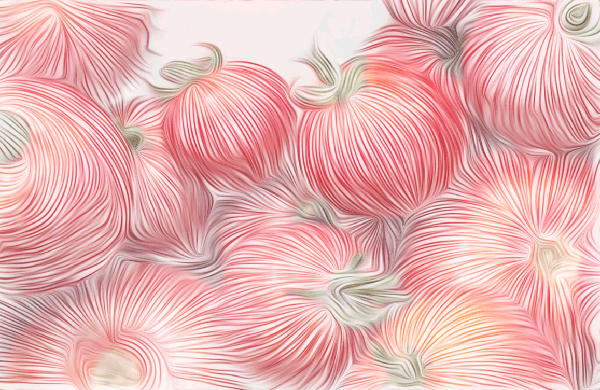
Variations on the "Woodcut" Method

On 11/29/2012, Adam Birkan explored alternative techniques in class, and developed this method for combining the traced outlines and the original photo. It has a unique look. Unlike "push-button" filters applied wholesale to photos, this method uses the drawn outlines of object shapes to add intelligence to the final artwork. The final result is distinctive and far better than the "art in a can" appearance that global filtering usually produces.
It combines the original, un-blurred line drawing with the original photo in Subtract mode (set in the Layers palette), then the Filter>Oil Painting (in newer CC versions, try Filter > Stylize > Oil Paint) filter is used.
Note: The Oil Paint filter in CC 2015 will not run on older Macs that do not have an OpenCL capable graphics processor. You may have to check a box to enable OpenCL in Photoshop's Preferences > Performance dialog even if you have the modern processor.
Steps:
- Trace a printout of the photo with a pen on the reverse side of it. Use a light table or even a window to illuminate through the print so you can see what you are doing.
- Scan the tracing, then flip it back to correct orientation (it will be reversed left to right).
- Unlike the Woodcut technique, running a blur filter on the drawing is optional. It wasn't done here.
- Select All, then choose Edit>Define Pattern. This makes a pattern from the tracing.
- Open the original photo, and make sure that the width in pixels matches the drawing scan that was converted into a pattern. If the width in pixels doesn't match, use Image>Image Size, with Resample Image checked, to change the photo.
- Make a duplicate of the photo (Image>Duplicate)
- Convert the duplicate to Grayscale Mode (Image>Mode>Grayscale)
- Convert the duplicate from Grayscale to Bitmap mode (Image>Mode>Bitmap...), and choose Custom Pattern as the Method. Select the pattern you just made earlier from the drop-down list.
- Copy this result, and paste it as a new layer in the RBG photo.
- Choose Subtract mode in the Layers palette drop-down list.
- Run an Oil Painting filter on the top layer that was just pasted using the settings below:
You might want to lightly Gaussian blur the photo beneath if too much original photo detail remains, otherwise you are done.
Another Variant...

This method uses the original tracing without going through the Define Pattern step.
The steps are:
You may experiment with further variations on the theme, like blurring the top layer instead of the bottom, explore other layer blending options, etc.