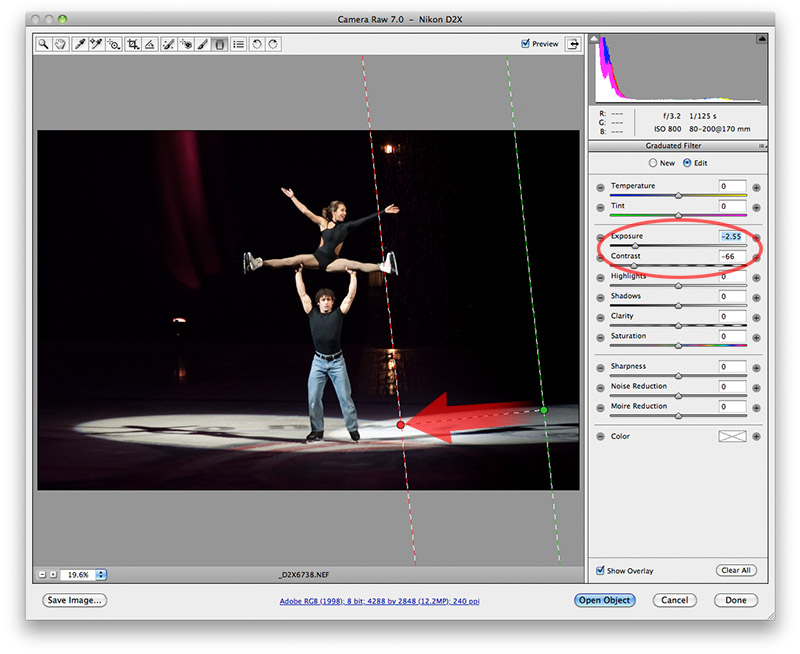
The Graduated Filter allows gradual burns and dodges (and more!) across large parts of the picture. This is the way to closely mimic the corner burns that were done in a traditional darkroom.
Click the New button to create a new dodge or burn, then drag across the picture. If you already have an adjustment in one of the sliders, it is applied automatically but can be changed. Therefore, don't panic if it happens to lighten part of a picture when you wanted to darken it. Merely slider the Exposure slider the other direction to make the change you want.
Adjustments can be made to Exposure, Contrast, Highlights, Shadows, Saturation, Clarity, Sharpness, and even color. All of these are controlled by the action of the sliders. You can make your graduated selection first, then experiment with tone and color to find what works best.
Best of all, these changes are non-destructive to the picture and may be removed at anytime. Merely click on the starting point of the adjustment area (pictured as a green dot above), and press the keyboard Delete key.
Next - jump to:
Main window
Adjustment Brush
Spot Removal
Color Sampler
Workflow Options
[back to web notes]